How to add global providers services?
If you want to sell the services from global provider (like SSL or Domains, etc.) you need to Create it in the Services Providers tab.

After pressing the Create button, fill in the fields.
- Provider type – Type of service provided
- Provider title – Name of service provided
- Proxy – OpenNebula Port for VNC
- Host - Opennebula RPC2 (xmlrpc) endpoint. By default it is http://opennebula_IP:2633/RPC2
- user(Login) - Opennebula admin username. By default it is oneadmin, but you may create new user with admin privilege
- Pass or Token – User's password or token
- Group - Grop for new VMs and users. By default it is 1
- schedr rules - Opennebula host scheduler rules. For example:{"default": "ID="2""} - all VMs will be placed on host ID=2.{"default": "ID="2" | ID="13""}- the host will be chosen between 2 and 13 according to the scheduler opennebula policy. Read more: https://docs.opennebula.io/6.4/installation_and_configuration/opennebula_services/scheduler.html
- DataStore schedr rules - Opennebula datastore scheduler rules. For example:{"nvme": "ID="10"""ssd": "ID="11"""hdd": "ID="12"""sata": "ID="13""}- the datastore will be chosen between 10-13 according to the one selected when ordering in the application. Read more: https://docs.opennebula.io/6.4/installation_and_configuration/opennebula_services/scheduler.html
- Public IPs Pool ID – ID of Public IP address pool
- Private Networks Template ID - ID of Private IP address pool
- private_vnet_ban - disabled \ enabled
- Vlans Key – Start and end of IP address pool.
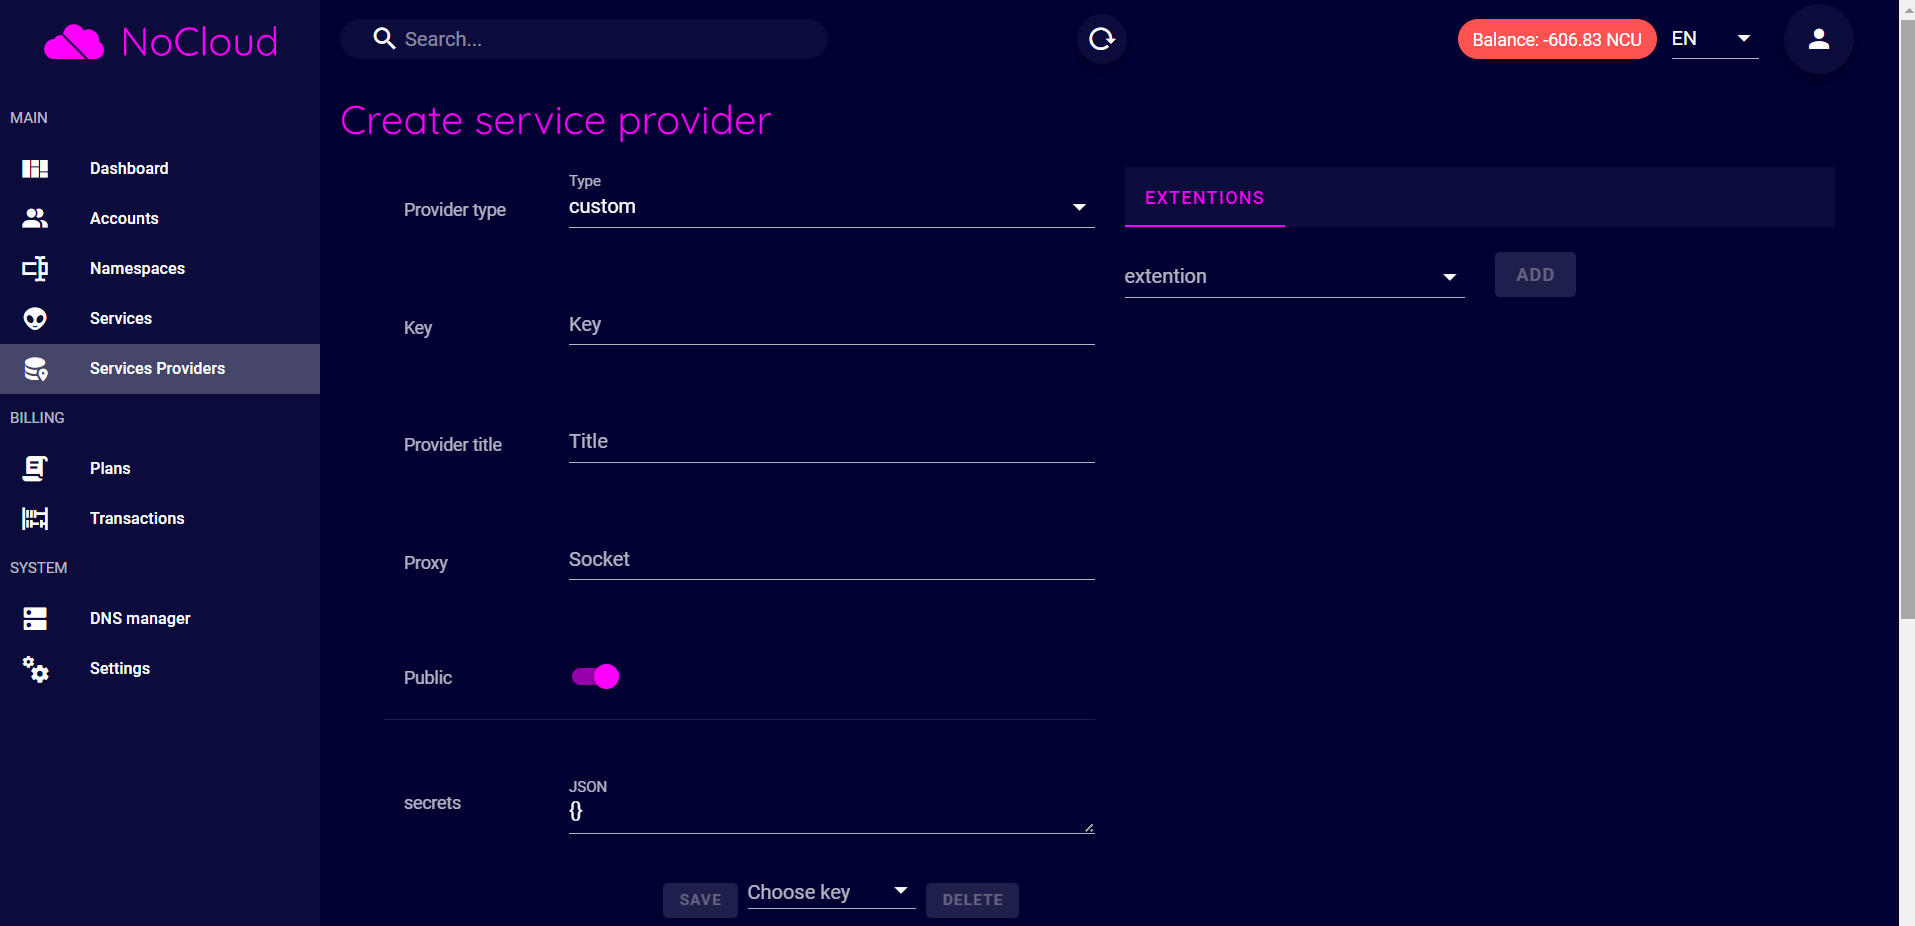
Then perform a connection test using the Test button at the very bottom of the page, and if the test is successful, we can connect the Service Provider.
If suddenly any access data has changed or it will be necessary to edit the configuration in the future, you can do this from this tab directly.
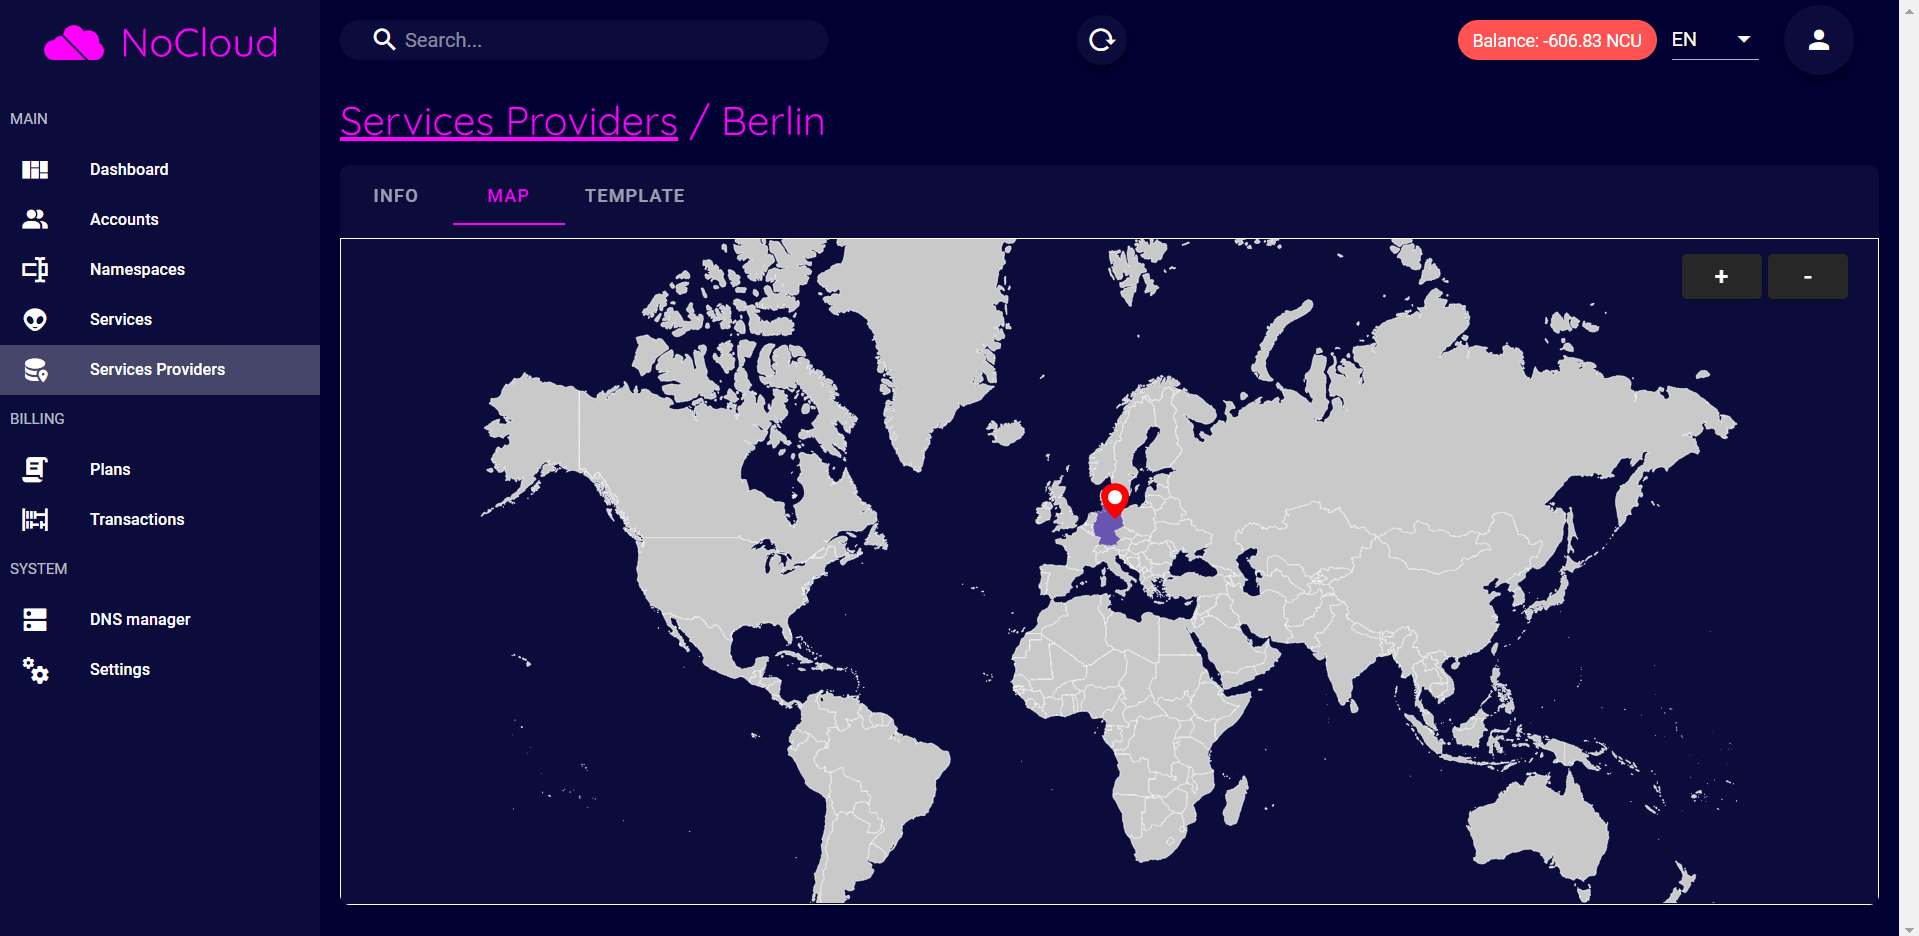
Move on to editing the Service Provider. Select the Service Provider we just created and go to the MAP tab.
Select the required country, the name of the geolocation in which the servers are located and click the green checkmark.
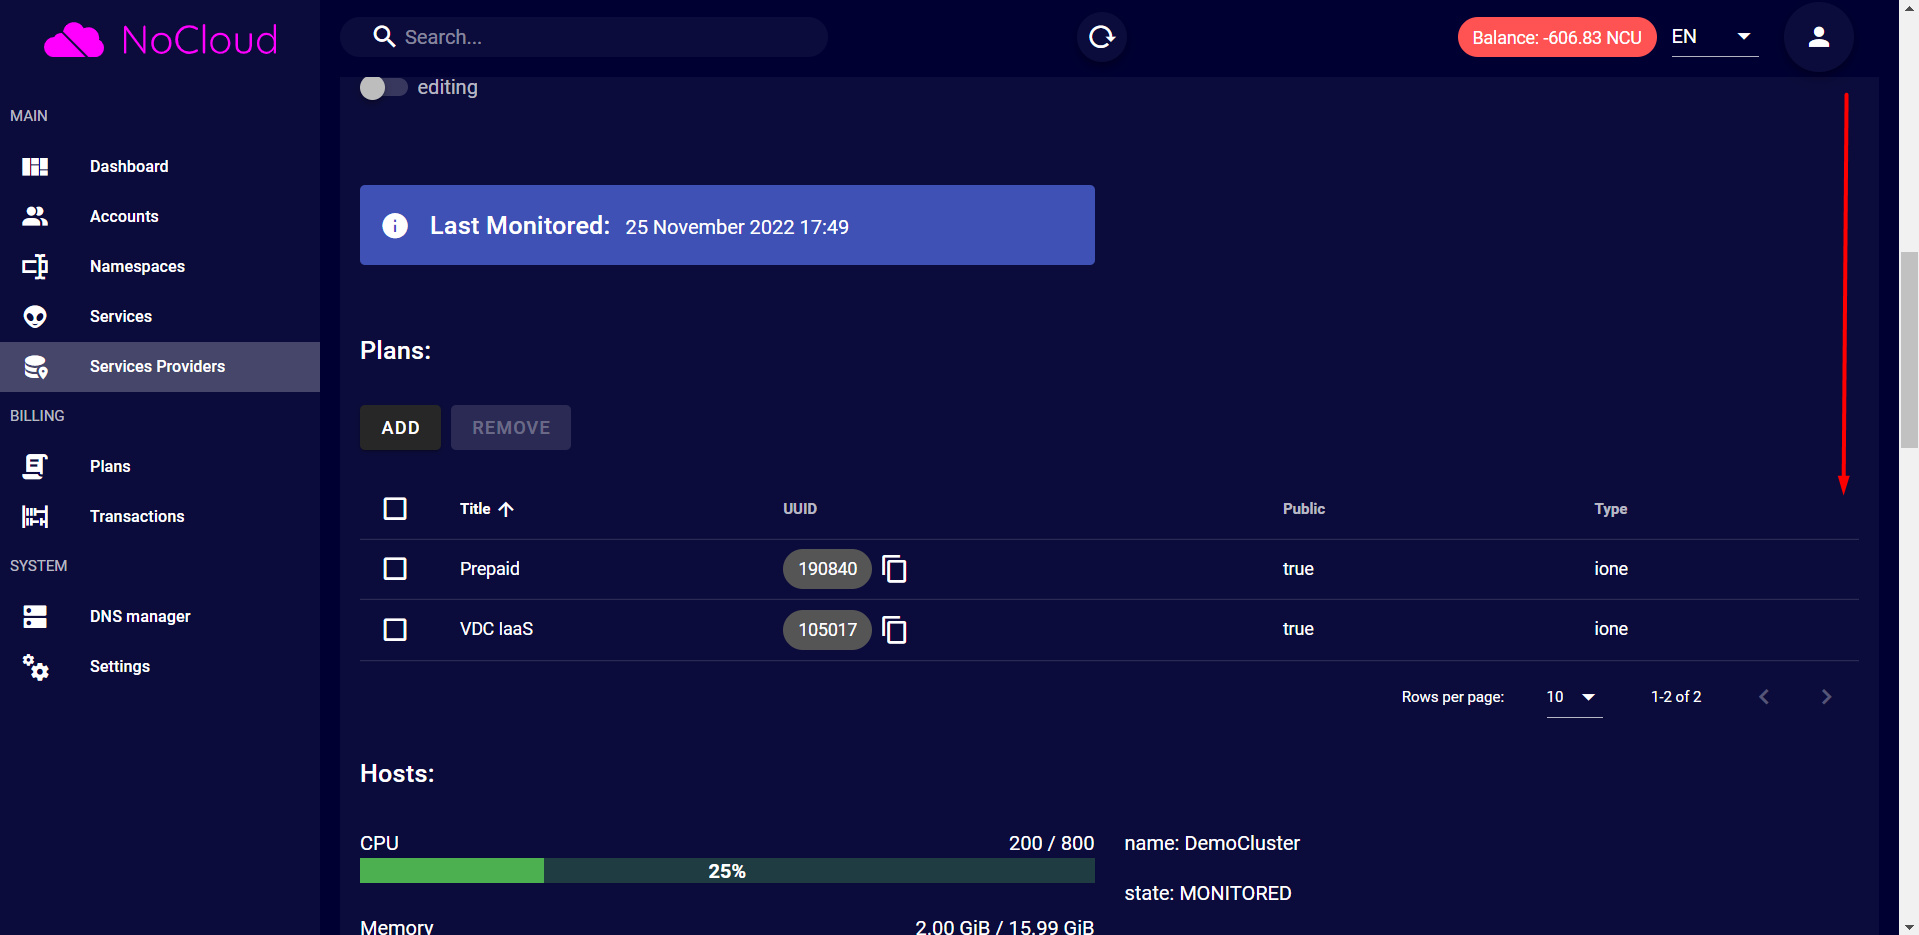
Go to the INFO tab, scroll down a little and add the previously created plans (Create a VM Pay-as-you-go plan, Create a VM Prepaid plan).